Simple to Apply, Easy to Remove
Follow these five breezy steps to apply and remove your Astrea Gel Stick & Set nails like a pro

Prep Like a Pro
Clean slate: Wash, dry, then gently push back cuticles.
Buff it out: Lightly file your nail surface so the gel sticks like a champ.
Pro tip: A clean nail is a long-lasting nail—so don’t skimp!

Size ’Em Up
Match game: Lay out the Gel Stick & Set and pair each one to your natural nail.
Size it right: When in doubt, pick the smaller one (overhang = no-go).
Fun fact: A tiny gap at the sides helps prevent peeling
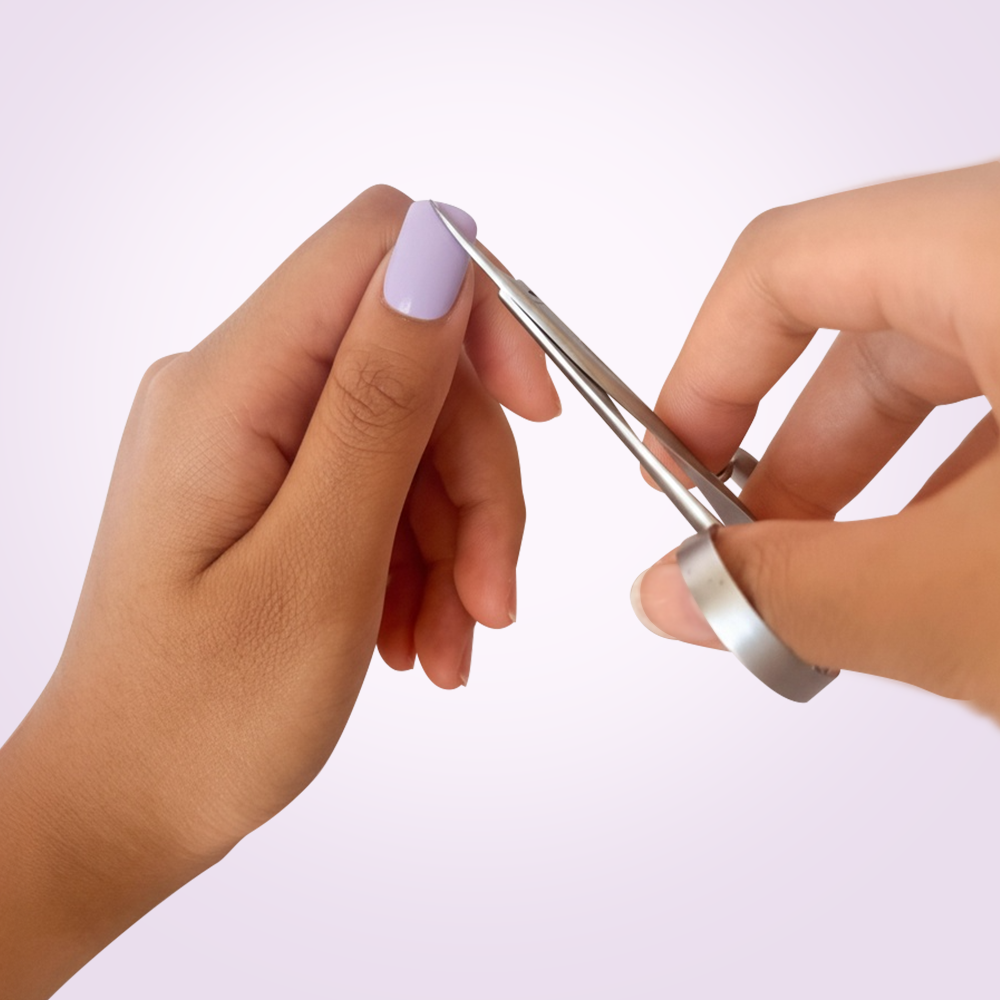
Peel, Stick & Snip
Peel it: Gently lift the Gel Stick & Set from its backing.
Stick it: Align above your cuticle, then apply firm pressure towards the tip. The more pressure you apply the longer the Gel Stick & Set will last!
Trim it: Clip or file away any extra so it hugs your nail perfectly.
Pro Tip: Use a tiny swipe of pure acetone with a small brush along the cuticle edge before curing to gently melt the strip’s edges to avoid hair snagging!

Cure & File
Cure time: Put your hands under an LED lamp for 1-2 minutes to harden.
Shape up: File the free edge into your dream silhouette—round, square, stiletto… you do you!

Gloss Over It & Ta-Da
Want that extra shine and strength? Swipe on a thin layer of our Glossy Top Coat. Cure under the LED lamp for 60 seconds.
There you have it - zero fuss. Now go flaunt those Astrea nails (and watch the compliments roll in)!

Remove in 1 Satisfying Step
Soak: Fill a bowl with warm water, then dip your fingertips for 30 seconds.
Peel: Use the wooden stick to catch an edge and gently peel each strip off from side to center—think of it like adult sticker therapy.
Pamper: Rinse your hands, then smother nails with cuticle oil or your go-to nail cream.
Voilà—nails free and ready for the next round!